
FREEFLY COACHING
Freeflying is the ability to fly your body in the wind in any position, in any direction. There are basic body flight positions such as:
- belly fly
- back fly
- back tracking
- head up (sitfly)
- head down
In freefly there isn't any limitation in the positions that you can fly. With good creativity, flexibility and strength you can fly in any body positions that you can imagine. There are many transitions to be performed between any of the positions. You can fly from one position to the other smoothly or launch yourself from one to the other.
For safety reasons, there are basic tunnel and in-air procedures to be followed.
The flyer needs to show a good control in FS Formation Skydiving. (neutral/ forward, backwards / up and down/ turns/)
Freeflying long term can lead to the following sport and competitive disciplines:
- Freestyle
- Artistic Freefly
- 4-way VFS (vertical formation skydiving)
Skydive University offers several options to improve your Freefly Skills.
Backfly and Sitfly Coaching
One on one coaching is highly recommended prior to joining others to freefly. Freefly has certain safety considerations; in freefall traffic control, equipment, as well as possible faster falling speeds requiring you to adjust altitude awareness routines. If you are just beginning to Freefly the logical fist step is to learn to backfly, or at least a certain number of the backfly skills prior to moving onto “head up” or “sitflying”. Both the previous skill sets must be learned prior to moving onto the faster moving Head Down flying.
Head Down, Advanced
Once you have become competent at back and head up flying transitions you could then proceed to Head Down flying. Head down training will include several different flying positions and styles that apply to the various disciplines.
Wind Tunnel Freefly Training
Wind tunnel training is highly recommended to accelerate freefly learning. Due to freeflying falling speeds being higher, and the amount of learning time reduced, therefore requiring more jumps, the longer it takes to become proficient. The extended freefall time that is possible in the wind tunnel allows more time to lock the freefly skills in faster. Also the fact that the distraction of altitude awareness and a canopy deployment is removed allows a more focused and relaxed learning environment. The wind tunnel progression will require you to show control on your belly and then backflying prior to being allowed to perform any head up or head down flying regardless of experience level. This is the basic procedure for every one. If you are a very good skydiver, it might take only a few minutes to feel comfortable in the wind tunnel and get through the safety procedures before we start freefly in vertical positions such as sitfly, stand and head down position.
WIND TUNNEL CLASSES: include stretching, briefing, flight time, one-on-one coaching and debriefing.
WIND TUNNEL CAMPS: The basic camp is designed to improve the basic free fly body position techniques. The advance camp is designed to improve advance free fly techniques including relative work in a vertical setting.
For a sample of our freefly information see the following article on Backfly written for our first of the four DVD series “Learning to Freefly.”
The following are articles written for two of the four "Learning to Freefly" DVD series, Backfly and Head down:
BACKFLY
Why is the Backfly position so difficult to learn?
What makes this position more difficult than others is the visual orientation. It’s easier to gain visual awareness in a head down position in comparison to the backfly position.
Sit fly position - the visuals* are just the same as we see everyday, anywhere. The same applies to the belly fly position, which corresponds to almost the same visual orientation you get from the head up flying positions.
Head down – the visuals are upside down, which make us somehow confused the first few times flying in this position, but it’s just inverse of what we normally see in our everyday life.
Backfly – the visuals are quite different and it is hard to get used to them. We are not used to finding ourselves with these visuals, we tend to get easily tense, and we always find ourselves looking at our legs or anywhere else (that it would look familiar the way we are used to seeing it). This position should be the most relaxed position of them; any tension would reduce the perception of the wind and would make our flight unstable.
How can we train to fly better in this position?
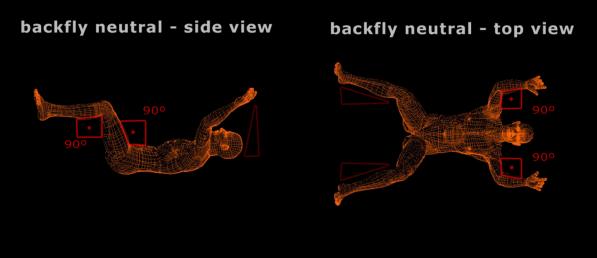
Firstly, we need to train on getting relaxed. You can lay on the ground, close your eyes, breath and relax. Try to feel your back touching the ground. Look at your legs and arms. Aim to present a nice box position and then look up, followed by closing your eyes again. At the beginning it’s good to jump with someone flying in the belly fly position; it will help as a visual reference during freefall. The first time we are flying we tend to look at our legs, which is ok to visually check the body position, but after the check we should try to look straight up. The best place to improve back flying performance is the wind tunnel. There are visual references all around. A good position to start in is by having your back slightly de-arched, legs and thighs at around a 90º angle. Legs and torso bent around a 90 º angle. Knees apart, in line with shoulders, feet kept a little wider than the knees. Head straight, laying backwards but looking straight up. Arms slightly bent, and above the level of the head, where it can be seen by yourself.
Forward & backward:
To better orient ourselves in back flying, it’s better if we use the terms “towards the head” & “towards the feet” instead of forward & backward. You can be looking in any directions when in a backfly position, so it’s very relative which way is forward or backward, it’ll depends where you are going to be looking. For example: we can say that you’re flying towards the feet and be very clear in which direction we are flying. Which will not matter which direction we are going to be looking. Straighten your legs, slightly bring your hands down, a little, twisting your shoulders down.
To move towards the feet - Bend your legs in and straighten your arms out.
To turn - The best is to use your arms and legs at the same time. You can twist the hips sideways, a little, and present the shins toward the wind, to the side you want to turn to.
Up and down (Slow and fast fall rate) – To go down - get smaller to go faster, bring arms and legs close to the torso or straighten them out, and de-arch your back more. To go up - get bigger to go slower, straightening your back, slightly arching, arms and legs straightened out.
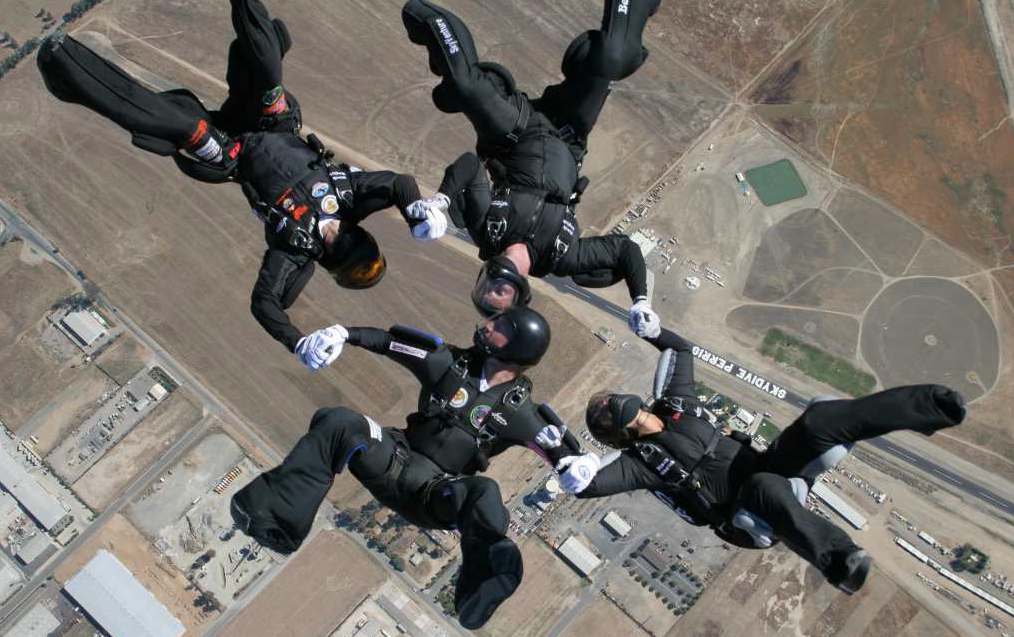
There are many movements in freeflying that we need to know. Learning how to fly on our back. e.g. eagles, carving, transitions, back tracking and lots more… Backfly can also be used for Formation Skydiving. The Black Magic 4-way team, comprised of Joey Jones, Thomas Hughes, Juliana Se, Joao Tambor, has been training all the FS (Formation Skydiving) 4-way pool on their backs. One of the best comments from the team was about the harness, the rig, and how much it can change the performance of back flying. Using the harness for tunnel training, one can realize that for sidewards and turns the legs and arms move the same way, with or without the harness. The torso moves differently - we need to twist toward the opposite direction, because the side part of the harness displaces a lot of wind sideways. So a good container for freeflying needs to have main and reserve flaps that remain well closed during freefall. It’s better if the container has a wide, flat and square shape. It is well fit. Leg straps and chest strap should be tight, and if it’s possible use a belly strap, or a side strap. So a good freefly container would be wide and flat, square shaped and well fit, legs and chest strapped very tight. A main and reserve flaps that remain well closed during freefall. Leg strap and chest strap very tight, and if it’s possible use a belly strap, or a side strap.
For more information about “Backfly” you can check out on the “Learning to freefly”DVD’s – Backfly, which is the first DVD in a series of 4 DVDs produced by Skydive University and 80visions Production. These DVD’s were created to help anyone wishing to learn the art of body flight.
"Parachutist" Backfly Article: Joao Tambor and John Chisholm - from Freefly Mega Center
HEAD DOWN: Freefall and windtunnel footage, 3D animations and training drills.
Like many of you, I've been eagerly awaiting the release Skydive University's newest DVD in the Learning to Freefly series, Learning to Fly Head Down, and I've finally managed to get my hands on a copy! Suffice to say it lives up to the standards already set by the 3 previous DVD's: Backfly, Sitfly, & Transitions, but it goes above and beyond. Though it starts with a warning that these DVD's are only to be supplementary educational tools, if you've had the privilege of learning from any of them, you know they are so much more.
Combined with the guidance of a professional freefly coach, the information you learn here will allow you to grasp and utilize the skills so much more quickly and in a much deeper way. Once again SDU approaches the information so that no matter your type of learning, the information is going to sink in. Like all good skydiving videos, they've included some fantastic skydiving footage, but rather than just leaving you to sit in awe on your couch wishing you could execute those maneuvers, they've taken the time to break it down so everyone can understand.
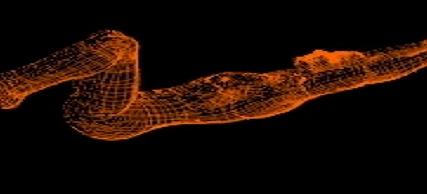
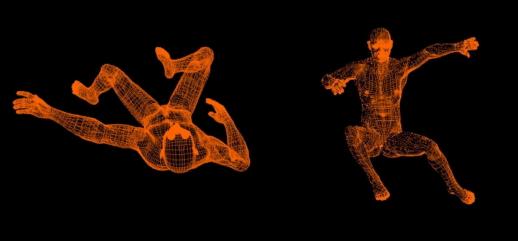
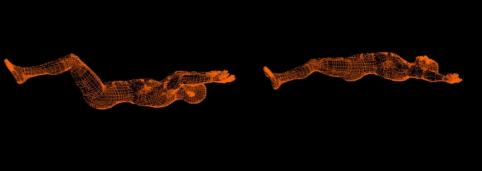
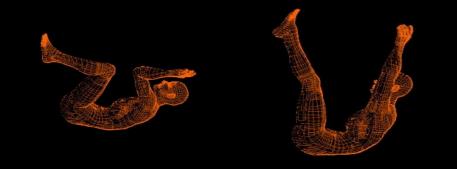
The animated 3D body model cuts away all the distractions and allows you to focus strictly on the anatomical movements needed to fly your body in that manner. Combined with the slow motion footage of precision tunnel flyers, it becomes easy to see just how they make it look so smooth.
Also like the previous DVDs the Head Down DVD puts so much necessary focus on safety, though not just on the flying portion, but also on gear use, exit order, and safe transitions to aid in adequate separation after a skydive. Without paying attention to these important aspects, we cannot hope to achieve safety while flying, so the reminders are necessary and welcome on every DVD.
With a wealth of information, this DVD appeals to both advanced and beginner head down flyers. While the beginning covers the aforementioned safety issues, it also reviews the transitions necessary to place yourself in a head down orientation while flying, but it also shows you how to maintain your flight and begin working on a basic progression of movements using the SCS (start, coast, stop) method discussed in the previous DVDs. The advanced flyers also use this method to safely learn maneuvers such as side slides, grips, carving, acrobatics, etc. So, while the final chapters of the DVD may not apply to beginners presently, it's extremely helpful to see the big picture of progression.
Suffice to say, I'm super excited to have this DVD in my collection. While I'm just learning the basics of head down flying, my friends who are advanced have also given this DVD the stamp of approval and its permanent home on our DVD shelf. Not only that, but all of us have decided to go back and re-watch the entire series of DVDs. So whether you’re a fun jumper looking to take charge of your progress or a coach looking to offer even more worthwhile information to your students, SDU has once again made it just that much easier and safer for all of us to be ridiculously awesome in the sky!
Kylie Rhoads